
1. Version Information
This document is intended to provide the reader with the necessary steps on how to install the iPECS ONE mobile app on an iOS mobile devices
iPECS ONE – Installing the ONE app on an iOS mobile device
Important note regarding call priority in iOS vs Android OS: On iPhone, iOS CallKit decides whether to receive or reject the second call and it is the same when a mobile phone call comes in during IPECS ONE call. CallKit is an iOS control and not iPECS ONE.
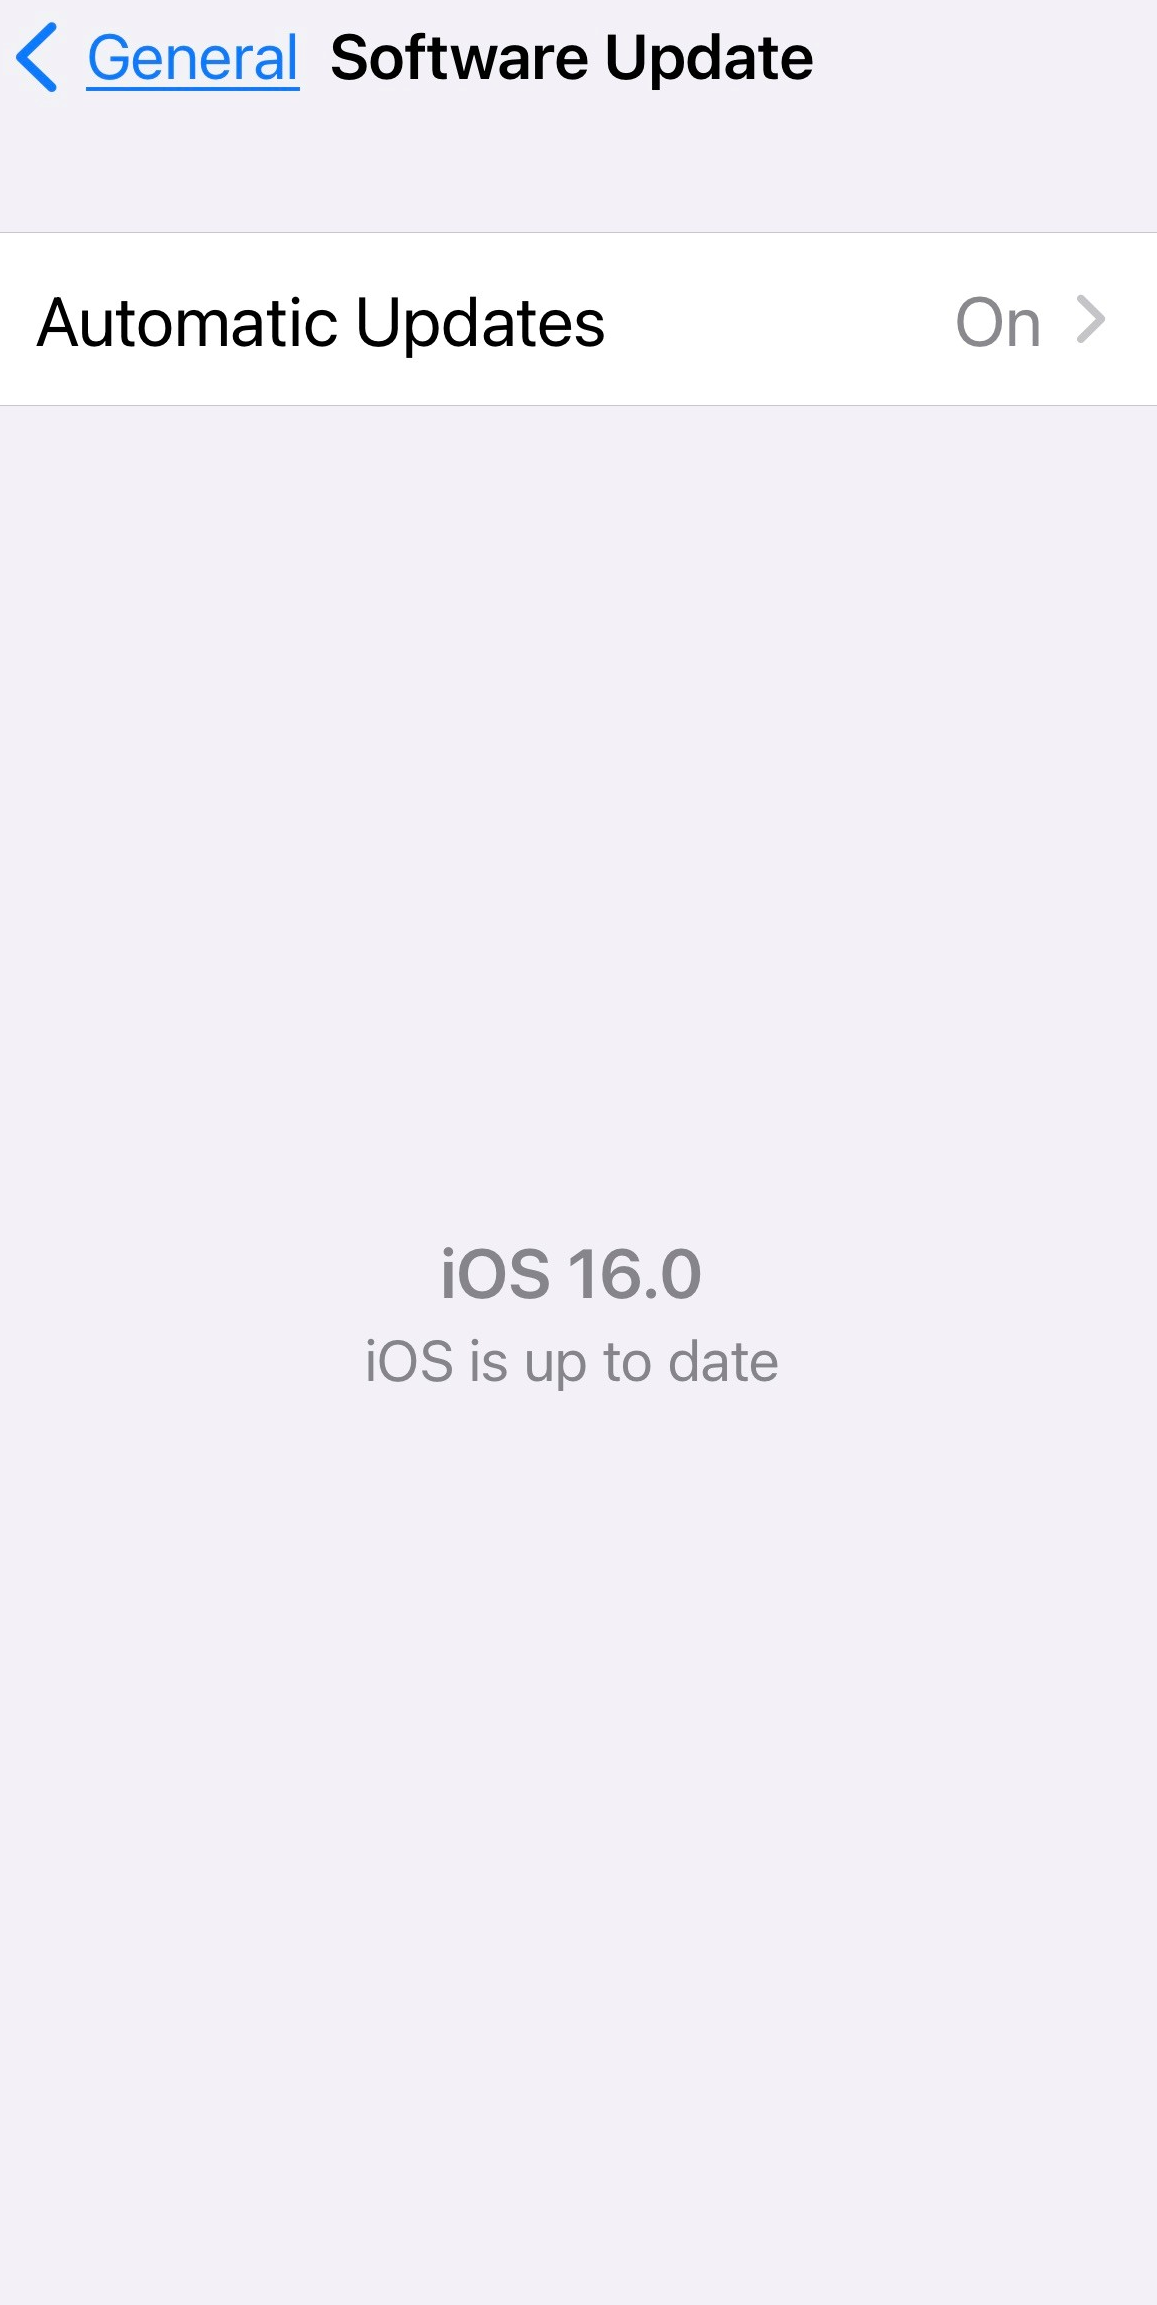
1.) Before going to the App Store please check that the iOS operating system is up to date, at the time of writing this KB the iOS version was 15.5
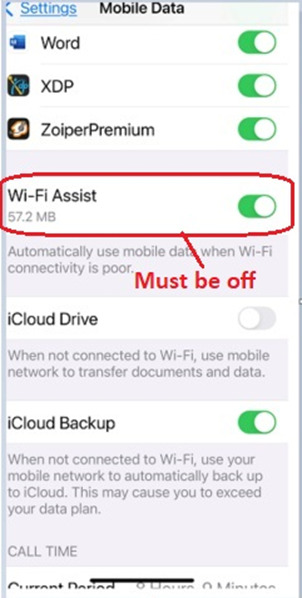
2.) Before installing the iPECS ONE application please make sure Wi-Fi Assist is turned off as this can impact your call connectivity. Please see below image.
3.) Before the iPECS application is installed, you need to reboot the iPhone.
4.) Once the iPhone has rebooted then go to the App Store.
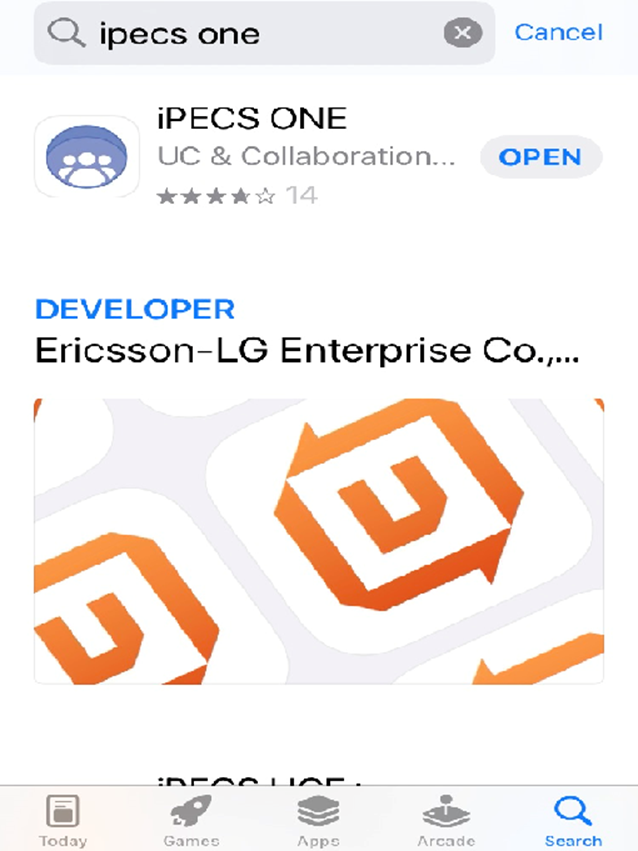
5.) Open up the App Store and search for iPECS ONE. Select install and wait for the application to install
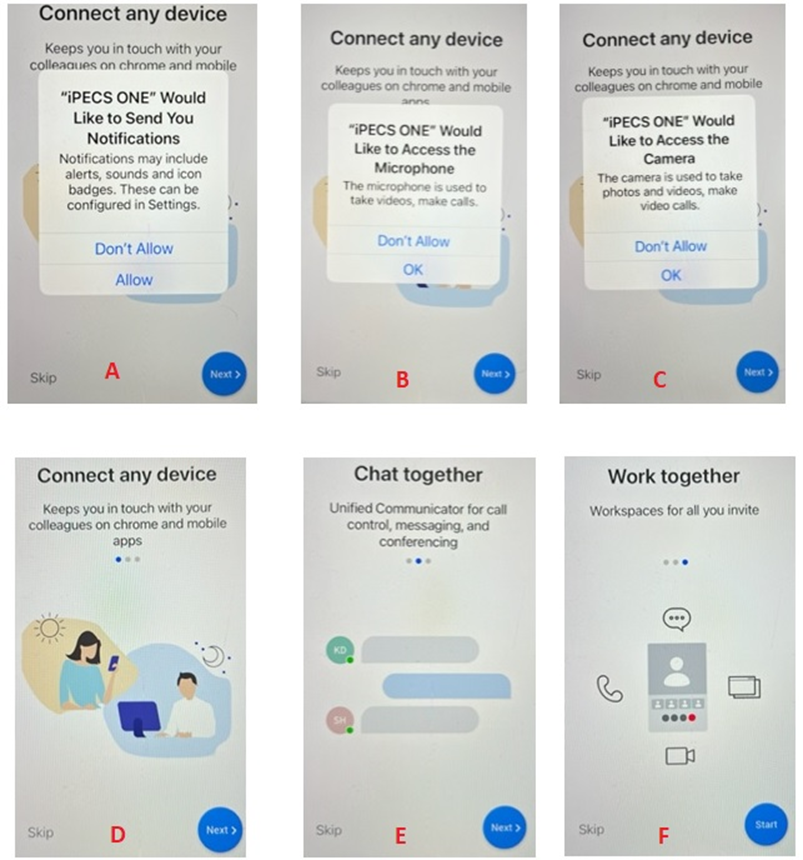
6.) Once the iPECS application has been installed, you will get the prompts as per the image below. You need to allow all the requests made. A – Send you notifications. B – Access the Microphone. C – Access the Camera. D – Connect any device. E – Chat together. F – Work together (press Start)
7.) Reboot the iPhone, once the iPhone has rebooted, go to the iPECS ONE app. Select “Open”. This will now launch the iPECS ONE mobile app.
8.) From here you can either scan a QR code using the link or alternatively you can manually configure the server settings using the settings icon at the top right and then manually entering a username and password as per the below images.
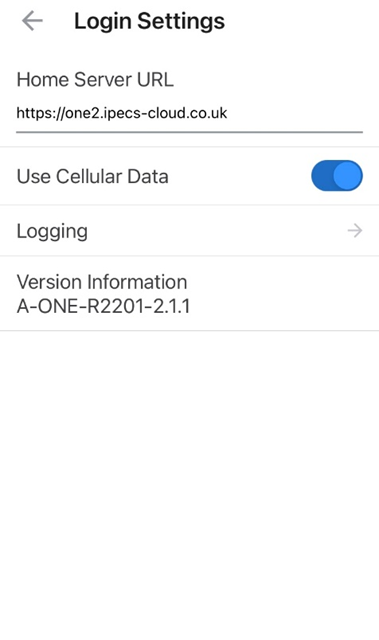
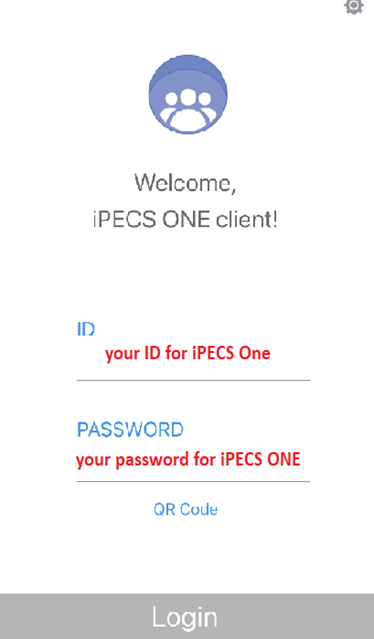
9.) Once you have logged in to iPECS One you should be able to go to the three stipes at the top left of the screen and by pressing this the below screen will display showing you are logged in.
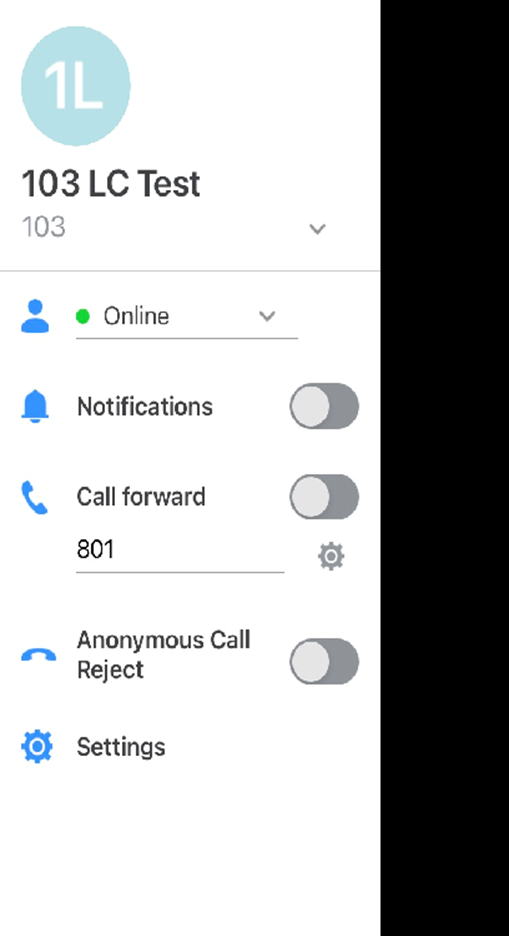
If you require any further assistance then please log a ticket with our technical support team.
“
Leave A Comment