
1. Version Information
2. Document Purpose & History
This document is intended to provide the reader with the setup and registration steps for the Ascom i63 handset register to the WiFi and Cloud platform.
This KB is to be used in conjunction with KB: Ascom i63 – Connecting Ascom i63 remotely
Ascom i63 Cloud Setup and Registration
Please note you will need a programming base to configure the Ascom i63.
Make sure that you have the Authentication ID and Password. This can be found against the user within User Setup and then in the device tab from within the cloud portal. If you need assistance on setting up a 3rd party SIP phone authentication ID and password please look at knowledge base article: iPECS Cloud – 3rd Party SIP User Setup
You will also need to know the 3rd party SIP address which is 185.110.180.13 (this will be different if you are a VSP reseller).
Before setting up your Ascom i63, please note you need to change a setting to make it connect remotely.
There are two ways to change the parameter we need to make it able to connect and to work remotely.
For both, you need to follow Step 1 of KB: Ascom i63 – Connecting Ascom i63 remotely
You now have two options on how to configure the Ascom i63:
Option 1) Using the Ascom WinPDM to setup your Ascom i63
To use the desktop programming unit to configure your i63, please install the USB.exe and WinPDM.exe files. You can find the link to download them here: Ascom WinPDM 3.15.2.zip
To configure the i63 using a desktop programming unit first open the Ascom WinPDM.
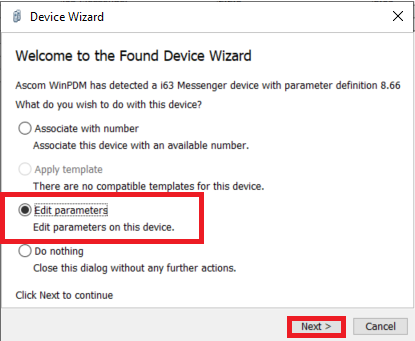
Then set the phone into the programming base. A Wizard window will appear.
Select “Edit Parameters” and click “next”.
Note: If “Edit Parameters” is grey out, you might need to add the latest version for i63. To do this, please follow the KB:Ascom i63 – Connecting Ascom i63 remotely – Step 1 only.
A new window will pop up and you will be able to edit parameters.
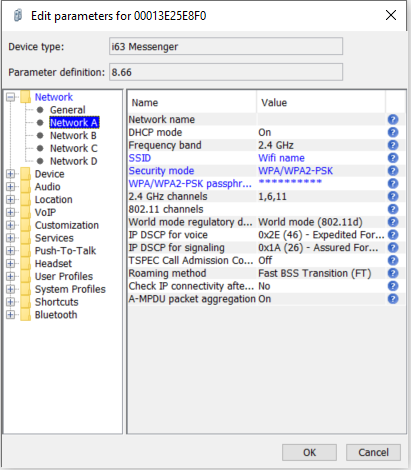
In “edit parameters” go to Network > Network A and set the WiFi credentials:
SSID: Wifi name
Security mode: WPA/WPA2-PSK
WPA/WPA2-PSK passphrase: Wifi password
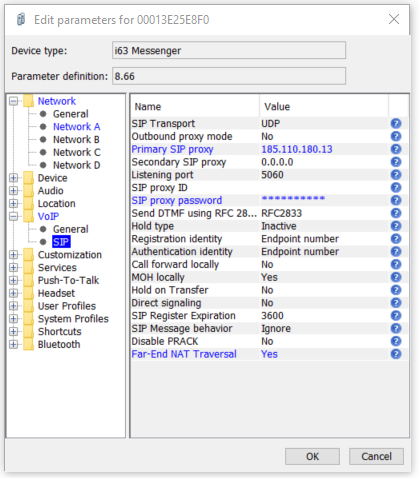
Then go to VoIP > SIP and set:
Primary SIP proxy: system IP address
SIP proxy password: Authentication Password (Cloud)
Far-End NAT Traversal to Yes – your device can then be connected remotely
The endpoint number (the Authentication ID) will be set when you associate a number to it or manually in the device.
Option 1.A) Manually
If you followed Step 2.B on the KB: Ascom i63 – Connecting Ascom i63 remotely and already associate a number to it, you will need to set this manually.
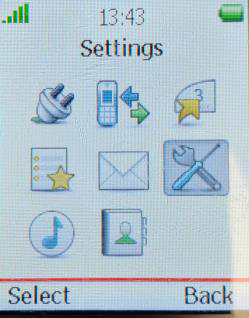
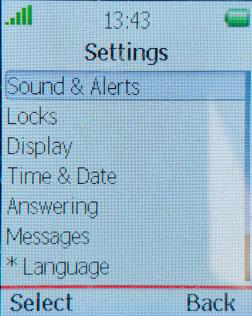
On the handset, enter the Admin Menu by pressing Menu > Settings then enter 40022.
 >
>  > 40022
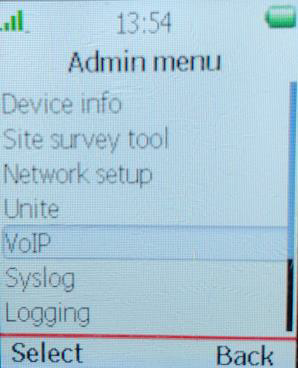
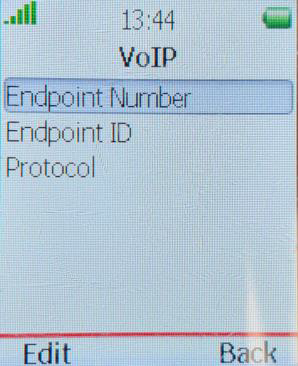
In the Admin menu go to VoIP > Endpoint number – this will be your Authentication ID set in your system.
Make sure there is no space at the beginning of the endpoint number.
 >
> 
Option 1.B) Using Ascom WinPDM
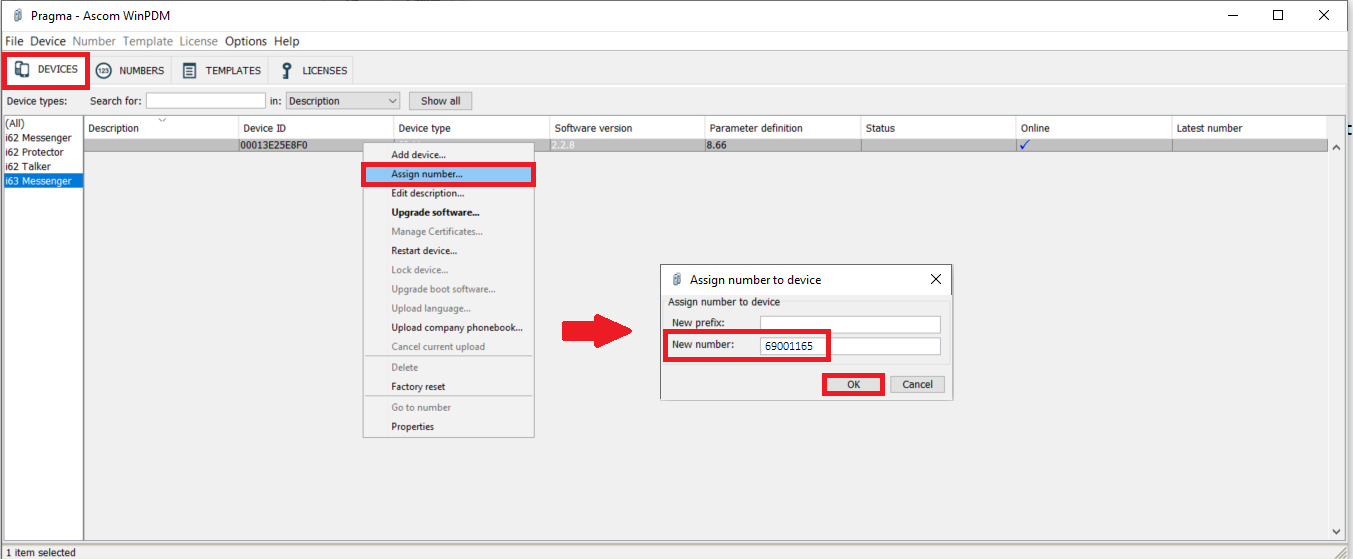
If you have not a number associated with this device you can associate one in Device.
Right click in the i63 that is in the programming base (it will have a tick under Online) > Assign number. (If this is grey out is because you already have a number associated, please follow Option A above).
A new window will open.
In new number enter the Endpoint number (this will be your Authentication ID). Then click Ok.
When you remote your i63 from the programming base, it will reboot.
Option 2) Configuring the Ascom i63 manually.
You will need to follow Step 2 of KB: Ascom i63 – Connecting Ascom i63 remotely to change the parameter “Far-End NAT Traversal” to Yes. This is the parameter you need to change for your device be able to connect and work remotely. You need to change this using the Ascom WinPDM.
Then you can setup all other parameters manually on your Ascom i63.
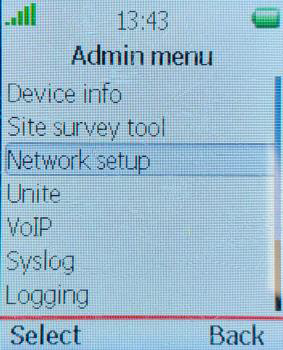
On the handset, enter the Admin Menu by pressing Menu > Settings then enter 40022.
> > 40022
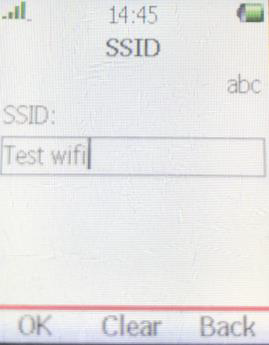
Go to Network Setup > SSID > Enter the WiFi SSID.
 >
> 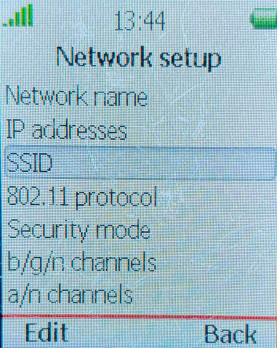 >
> 
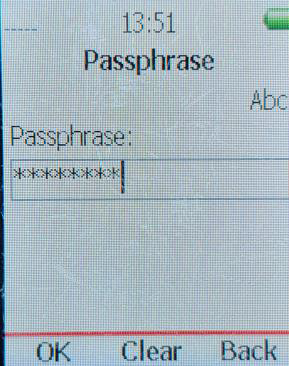
After entering the SSID go to Security mode, edit the WiFi security mode and enter the WiFi passphrase.
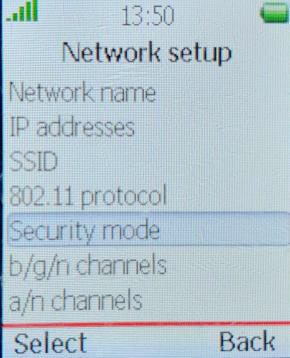 >
>  >
> 
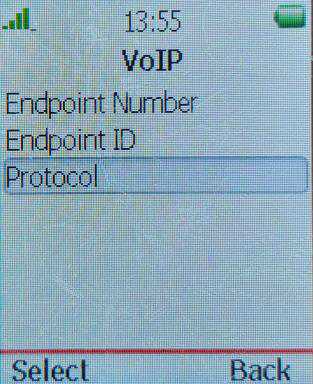
Go to VOIP within the Admin menu, enter your endpoint number – this will be your Authentication ID set in your system. Make sure there is no space at the beginning of the endpoint number.
>
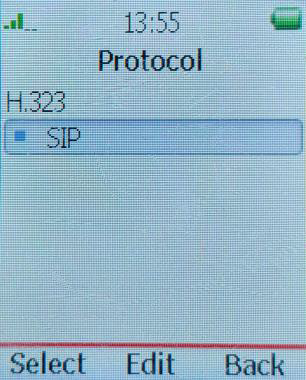
After entering the Endpoint number to Protocol > SIP > Edit.
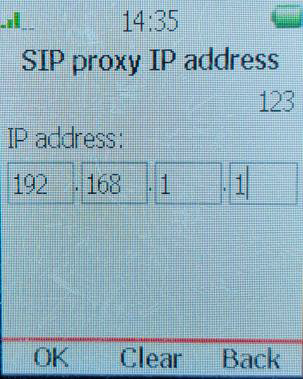
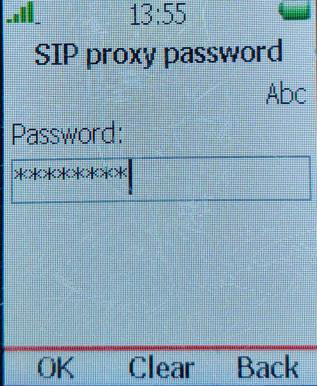
Enter your SBC extension address (This will be 185.110.180.13 unless you are a VSP reseller) within SIP proxy IP address > Enter your your authentication password within SIP proxy password. You don’t need to enter SIP proxy ID.
 >
>  >
>  >
> 
If all these details are correct your device will connect to the WiFi network and register to the iPECS system.
Please do not factory default the handset – this will put the phone into a state that is only recoverable via the desktop programming unit.
“

Leave A Comment